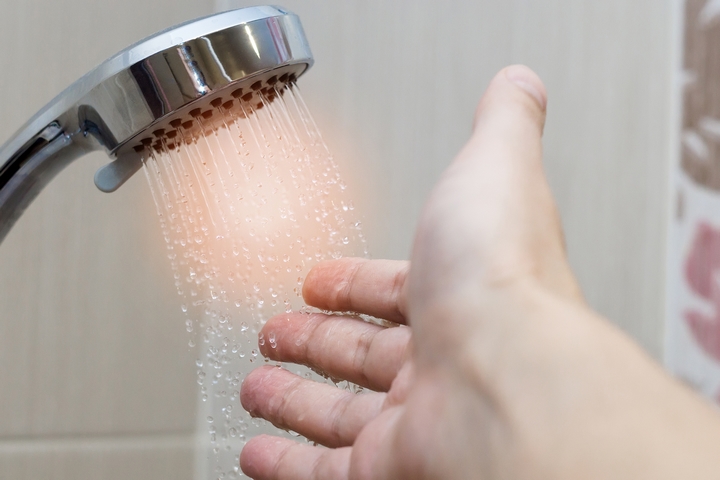
A leaking shower is not only a big nuisance, it also results in wasted water, has a negative impact on the environment, and can end up with you having a sky-high water bill to pay as well. Nine times out of ten, it’s the shower head that is leaking, so you should be able to easily tell what the culprit is.
During the troubleshooting phase, you may find that your shower head is worn out, rusty, or just plain old. If this is the case, it’s time to ask your plumber to replace the kitchen sink with a new one. If, however, it looks to be in good condition, but is still leaking, there are fixes for that as well.
Below is a simple tutorial on how to repair a leaking shower. If these tips don’t work for you and the shower is still leaking, it might be time to call in a professional to track down and fix the leak for you.
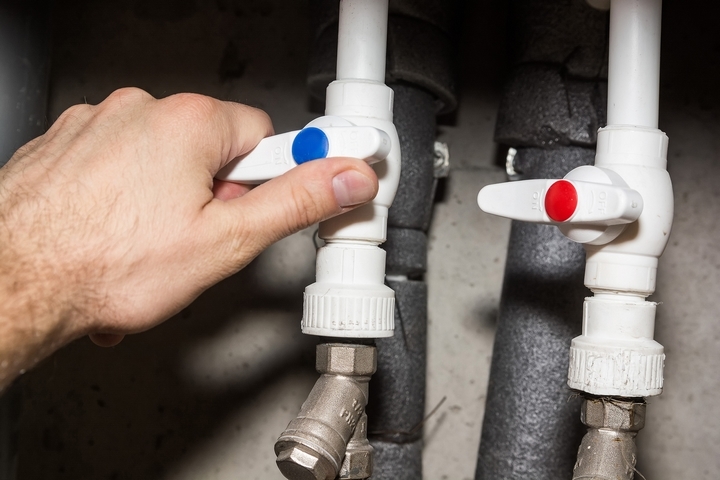
1. Shut Off the Water Supply
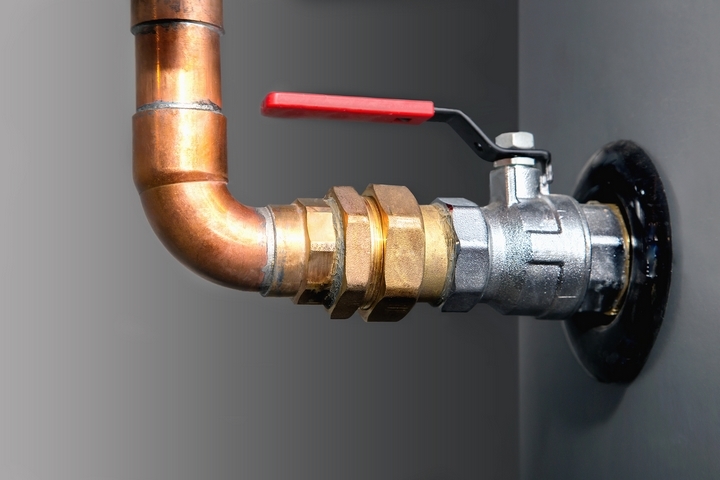
In order to replace a leaking shower, the first thing you want to do is shut off the main water supply to the house. If not, you are going to have a mess on your hands. Even after the water is switched off, make sure you have a towel on hand because some water could still leak out when you go to inspect the shower head.
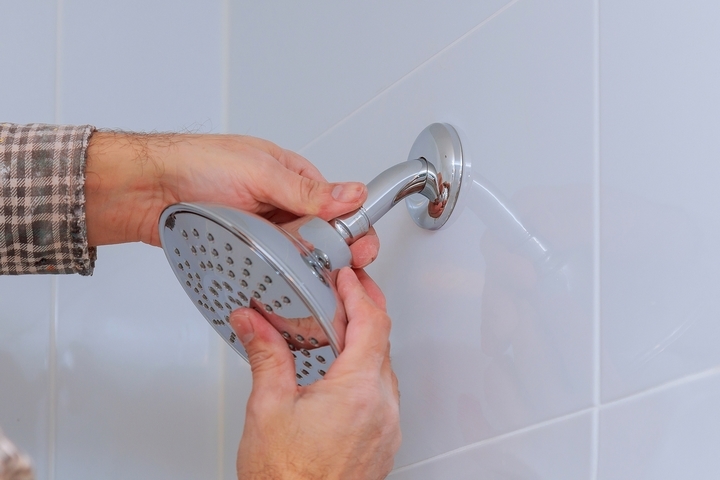
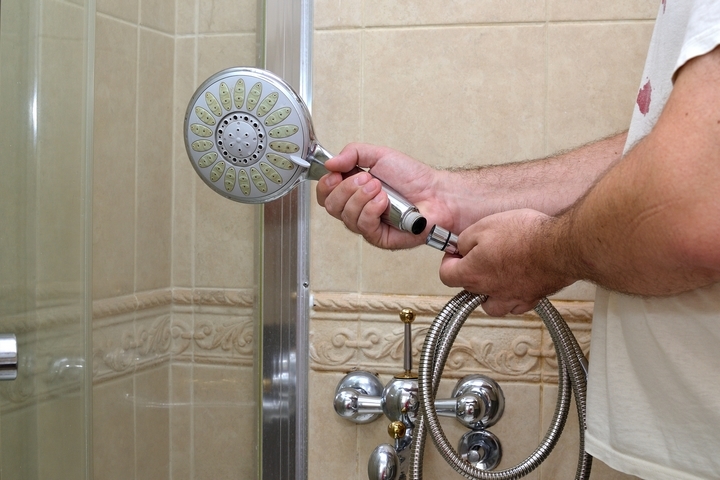
2. Remove and Inspect the Shower Head
Next, you’ll want to take the shower head off by loosening it with your hands. If it hasn’t been removed in a bit you might need the help of pliers or a crescent wrench. Once you have the shower head off inspect the threads and other components to see if they are bare, warn, or need replacing. If it’s the O ring, it will be brittle. At this point, you need to replace your shower head, as it’s old and is causing the leak you’re having.
3. Clean Your Shower Head
If the inside of the shower head looks fine and you don’t have to replace it, your next step is to clean the shower head itself, to see if that’s the cause of the leak. If the water coming out of the shower head is minor, it could be that it’s just clogged with debris and needs to be cleaned to work right once again.
You can clean the shower head in a pot of water and white vinegar. Boil the mixture, turn off the heat, then let your shower head sit in it for 30 minutes. Afterwards, clean the shower head with a toothbrush, rinse, and repeat until it is no longer clogged. It’s best to mix a pot of water with 3 cups of white vinegar for the best results. Make sure that you rinse very well afterwards also.
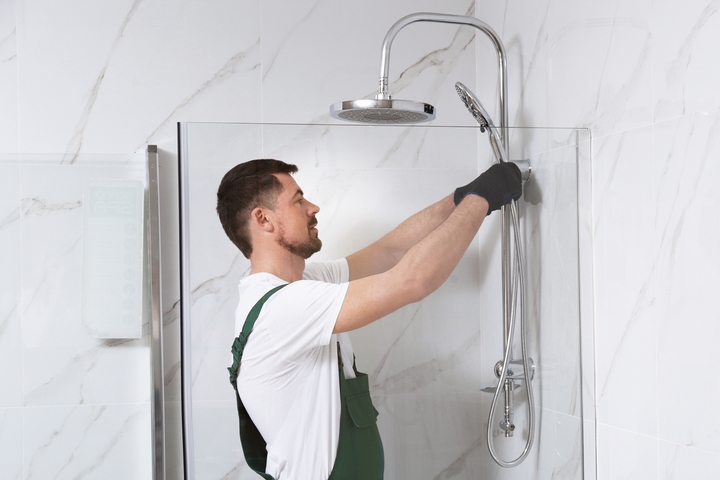
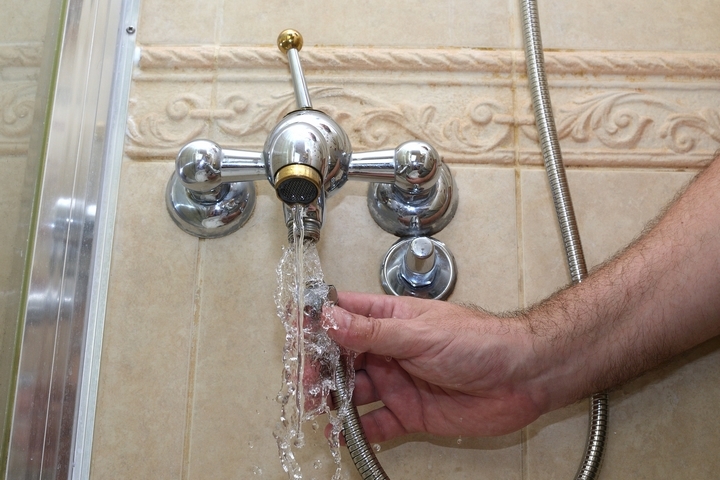
4. Put the Shower Head Back in Place
Once you’ve finished the above steps, you can put the shower head back on the wall, making sure to tighten it well. Don’t tighten to tight, however, as you don’t want to strip the threads and end up having to have a new shower head anyway.
5. Switch Your Water Back On
Once you are done securely putting the shower head back into the wall, because if you don’t you will have water everywhere and a big mess to clean up, turn your water back on. Leaving the water in the shower running for a few seconds, then switch it off. Sit for a bit to determine if water leaks out of the shower head. If it doesn’t then you have fixed the problem, if not it may be time for more drastic measures.
6. Other Fixes
There are a couple of other problems that could be the cause of the leak in your shower. The first is that the faucet is leaking instead. This is usually because the faucet is old and just needs to be replaced, which is an easy fix at any local hardware store in town. It could also be your diverter valve, which is what switches the water from the faucet to your shower head. Either of these is an easy fix and should have you leak-free in no time at all.
If none of the above seems to be your problem, then it’s time to call in a plumber who can help you fix the issue. Remember, a leaky shower is not only bad for your shower itself, it’s also horrible for the environment, and your wallet as well. When you’ve tried everything, you can to fix the shower leak DIY style, it’s time to call in the professionals so the job is done on time and the right way.